www.beezar.com

|
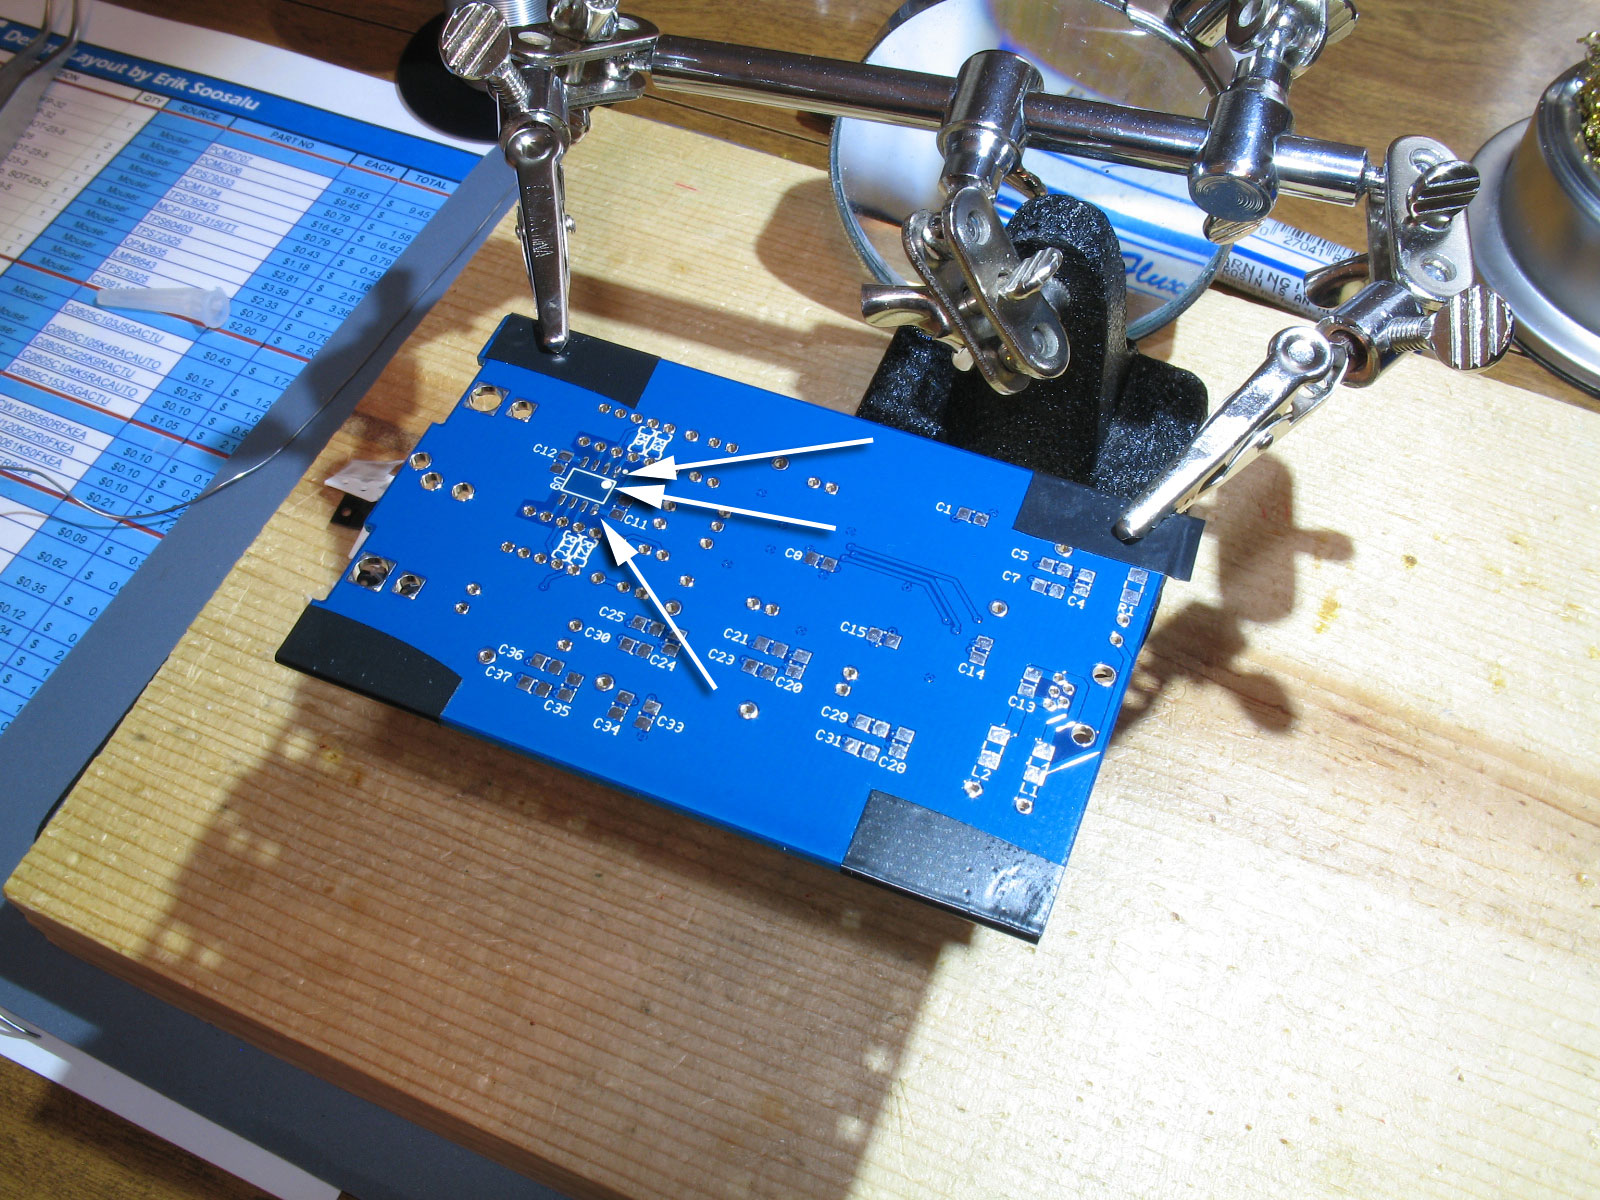
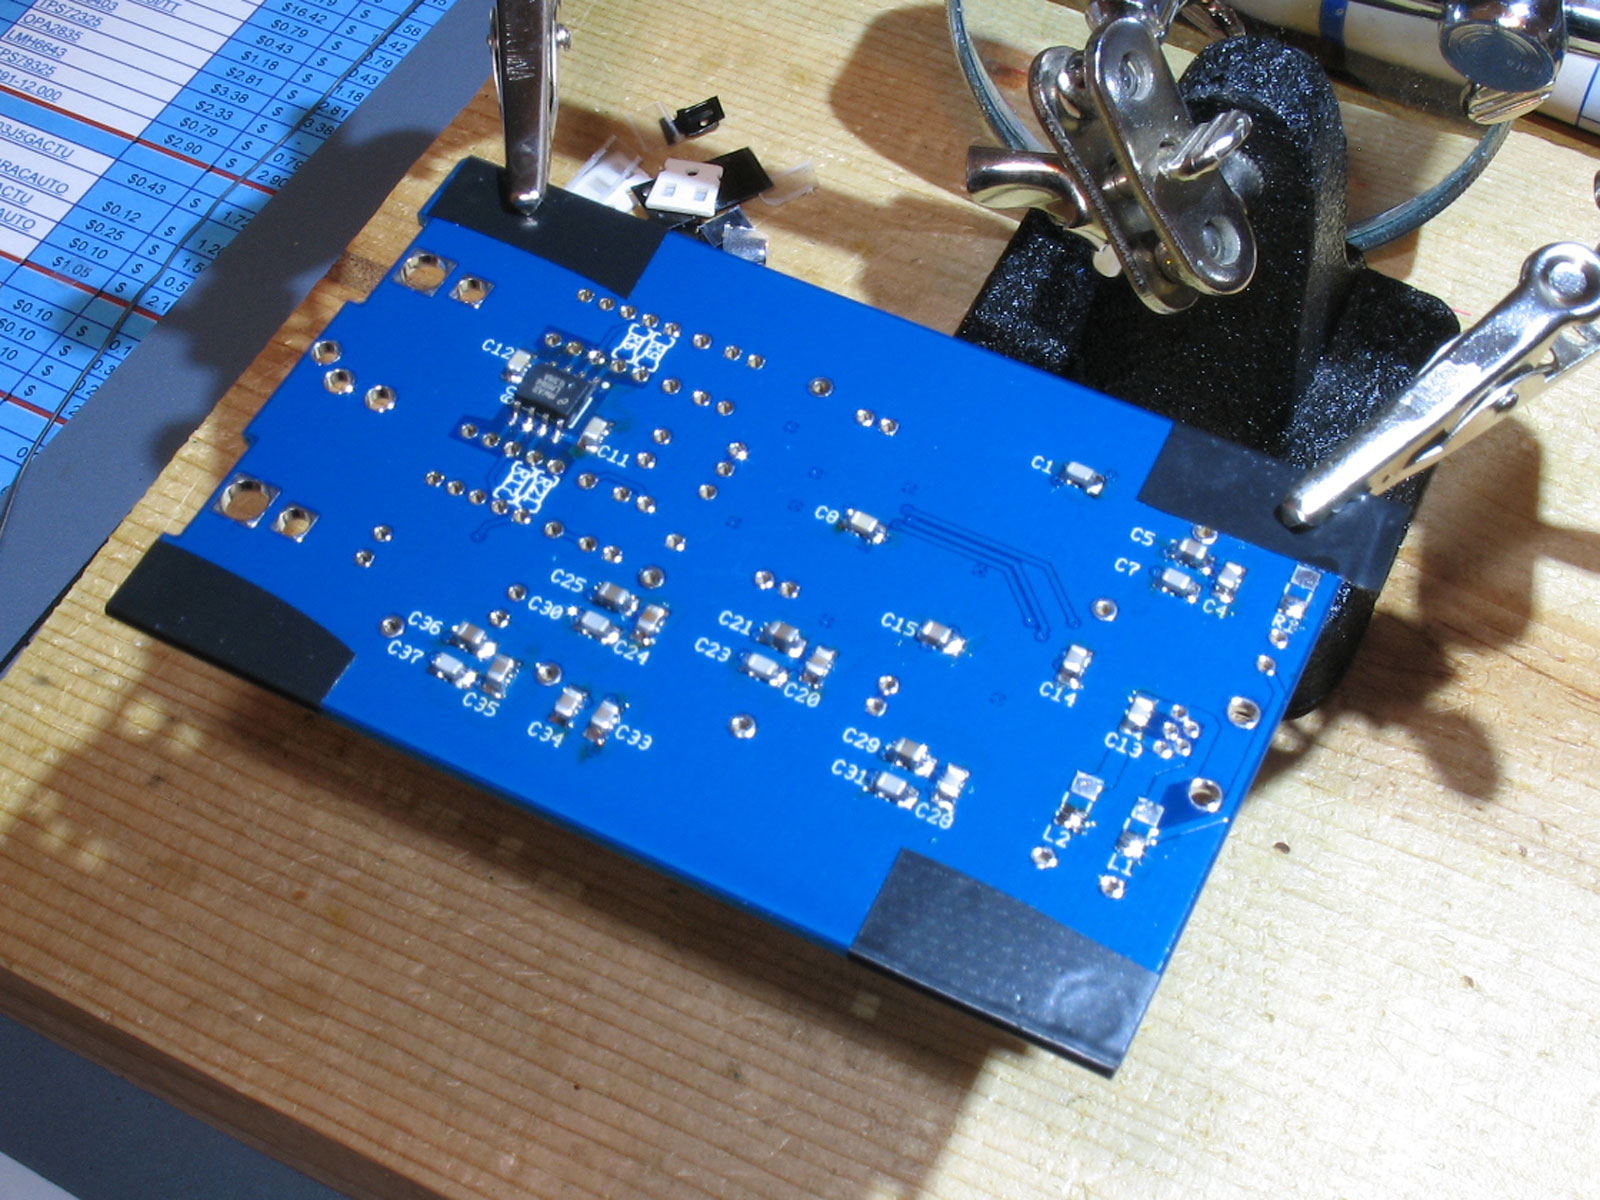
Next up is the backside of the PCB - the opamp, lots of little 805 capacitors, a couple of ferrites, and one 1206 resistor. Here we see the reverse side of the PCB:
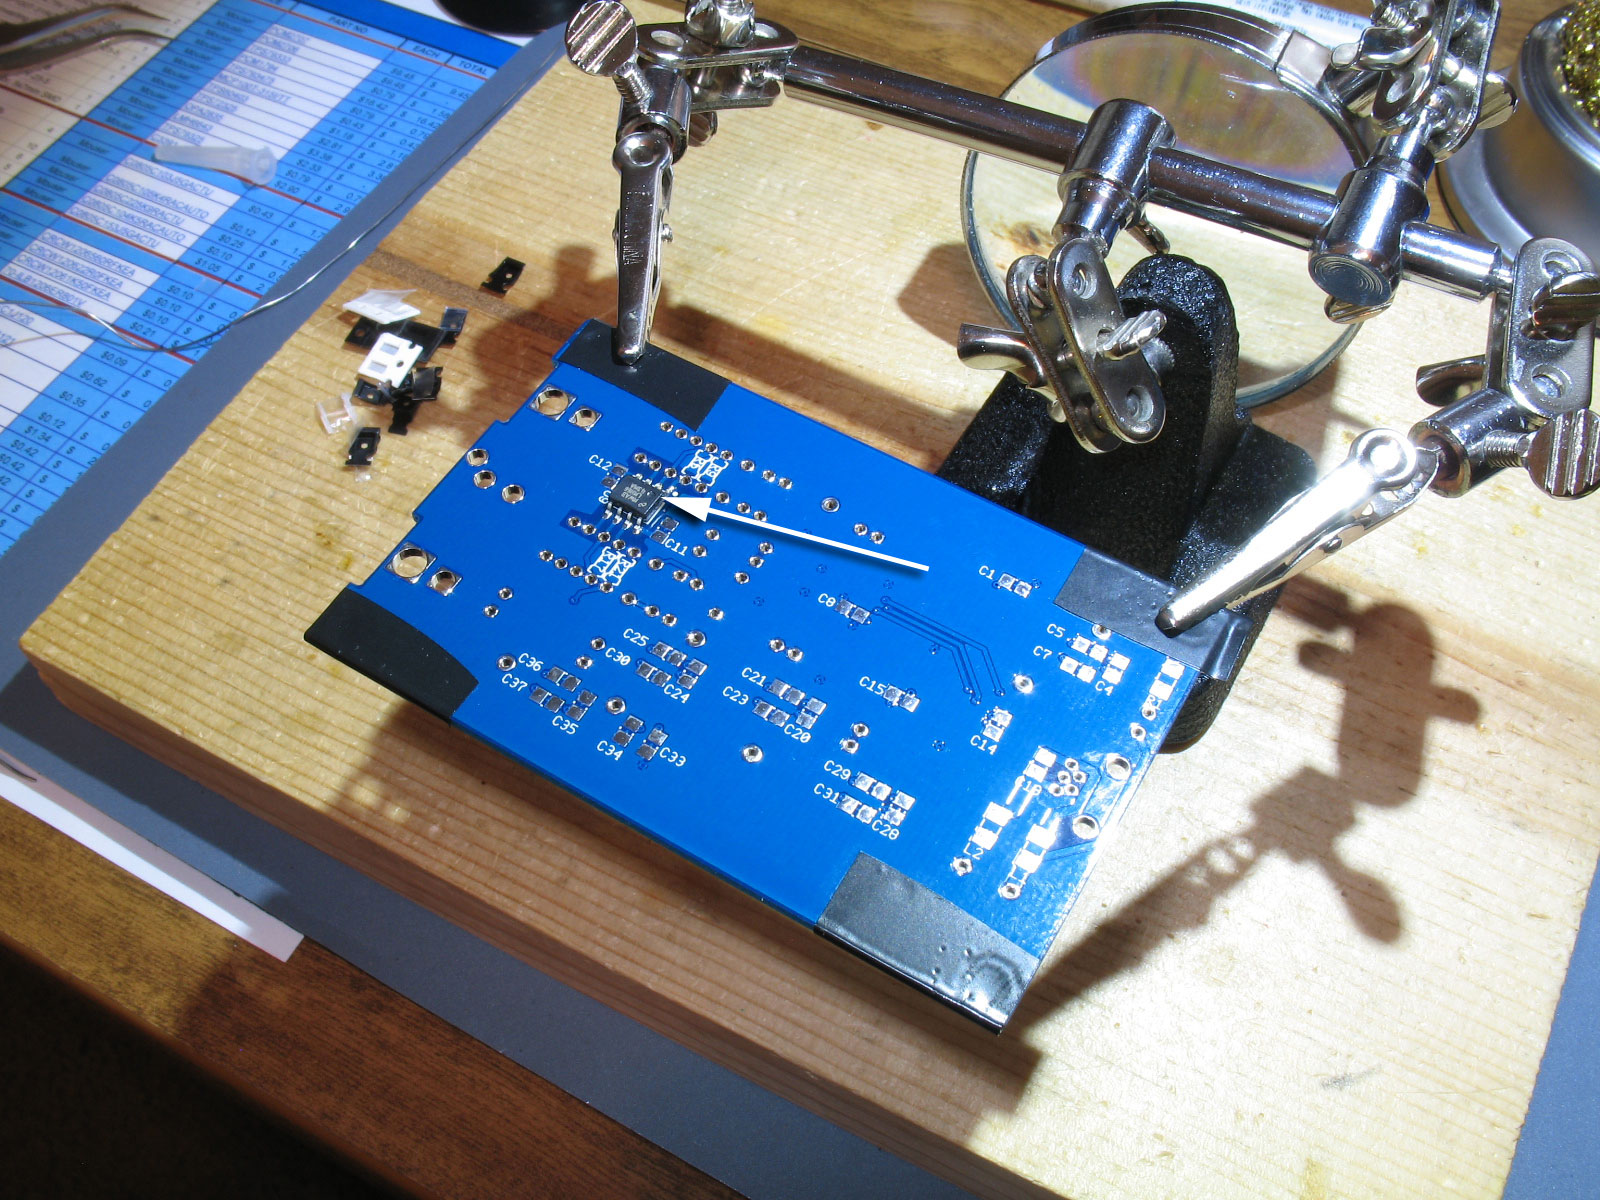
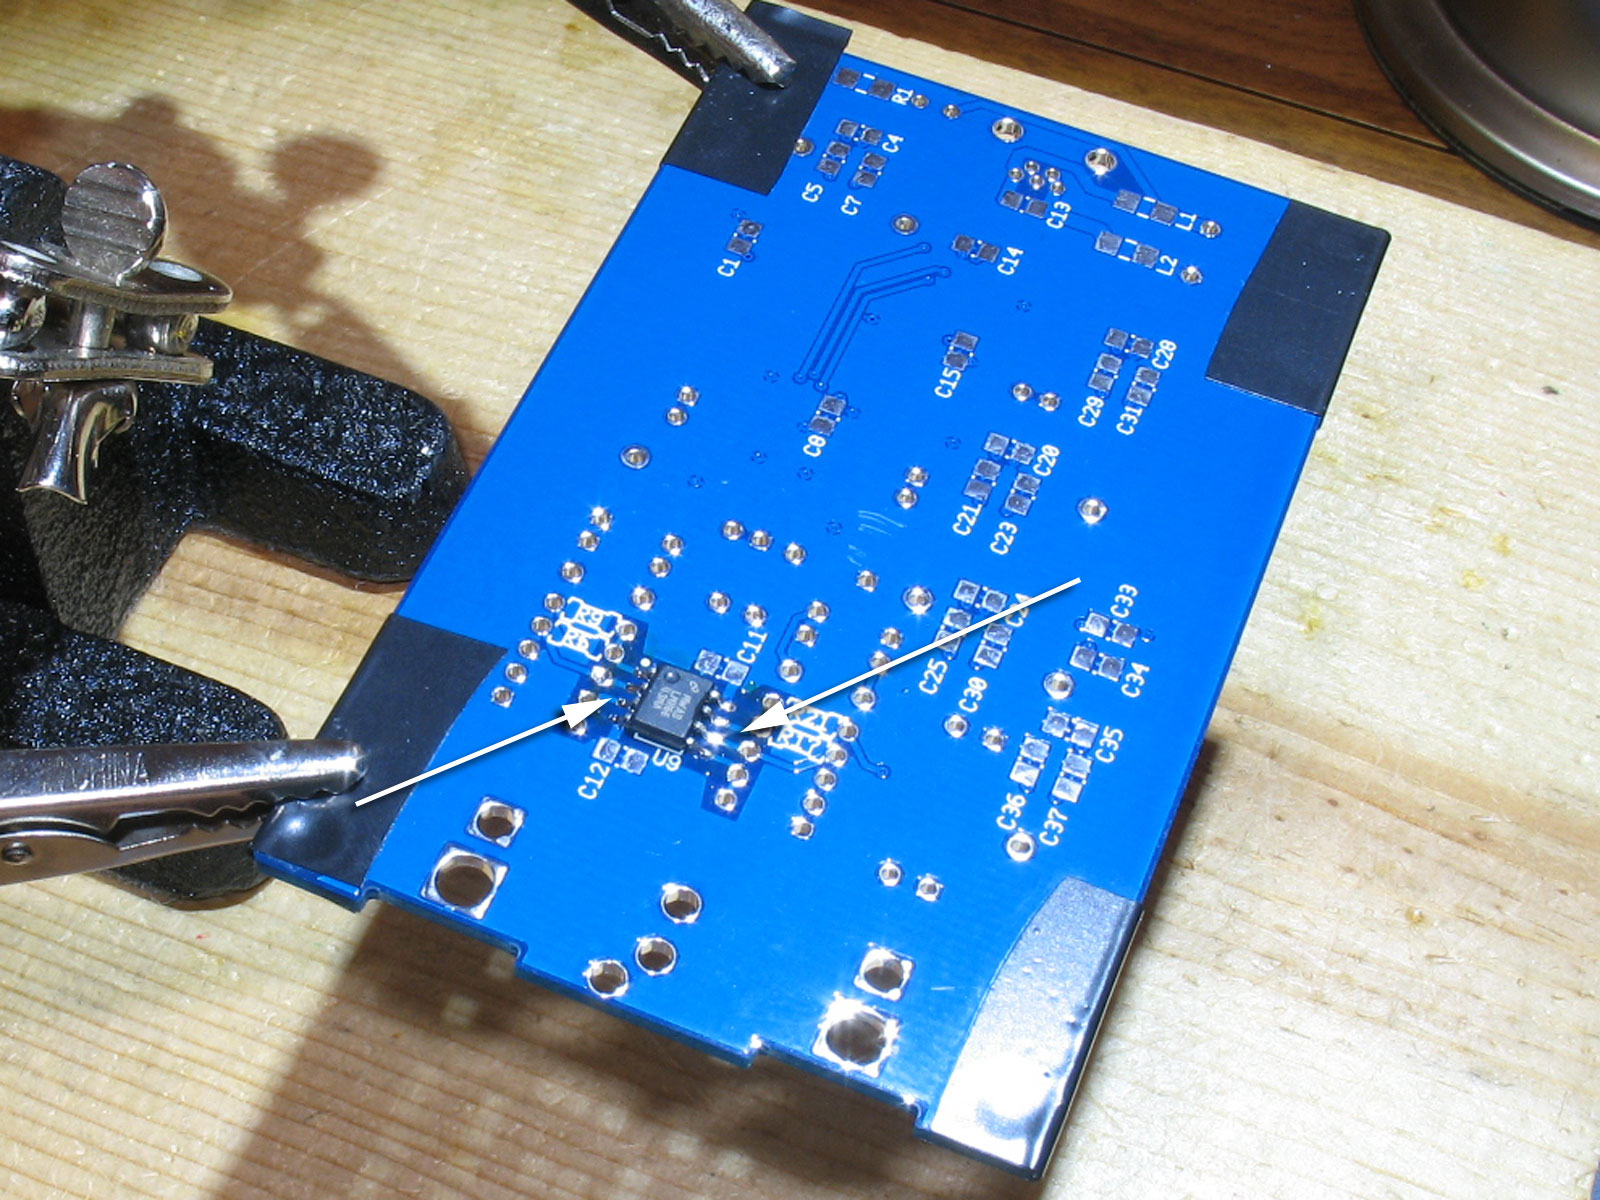
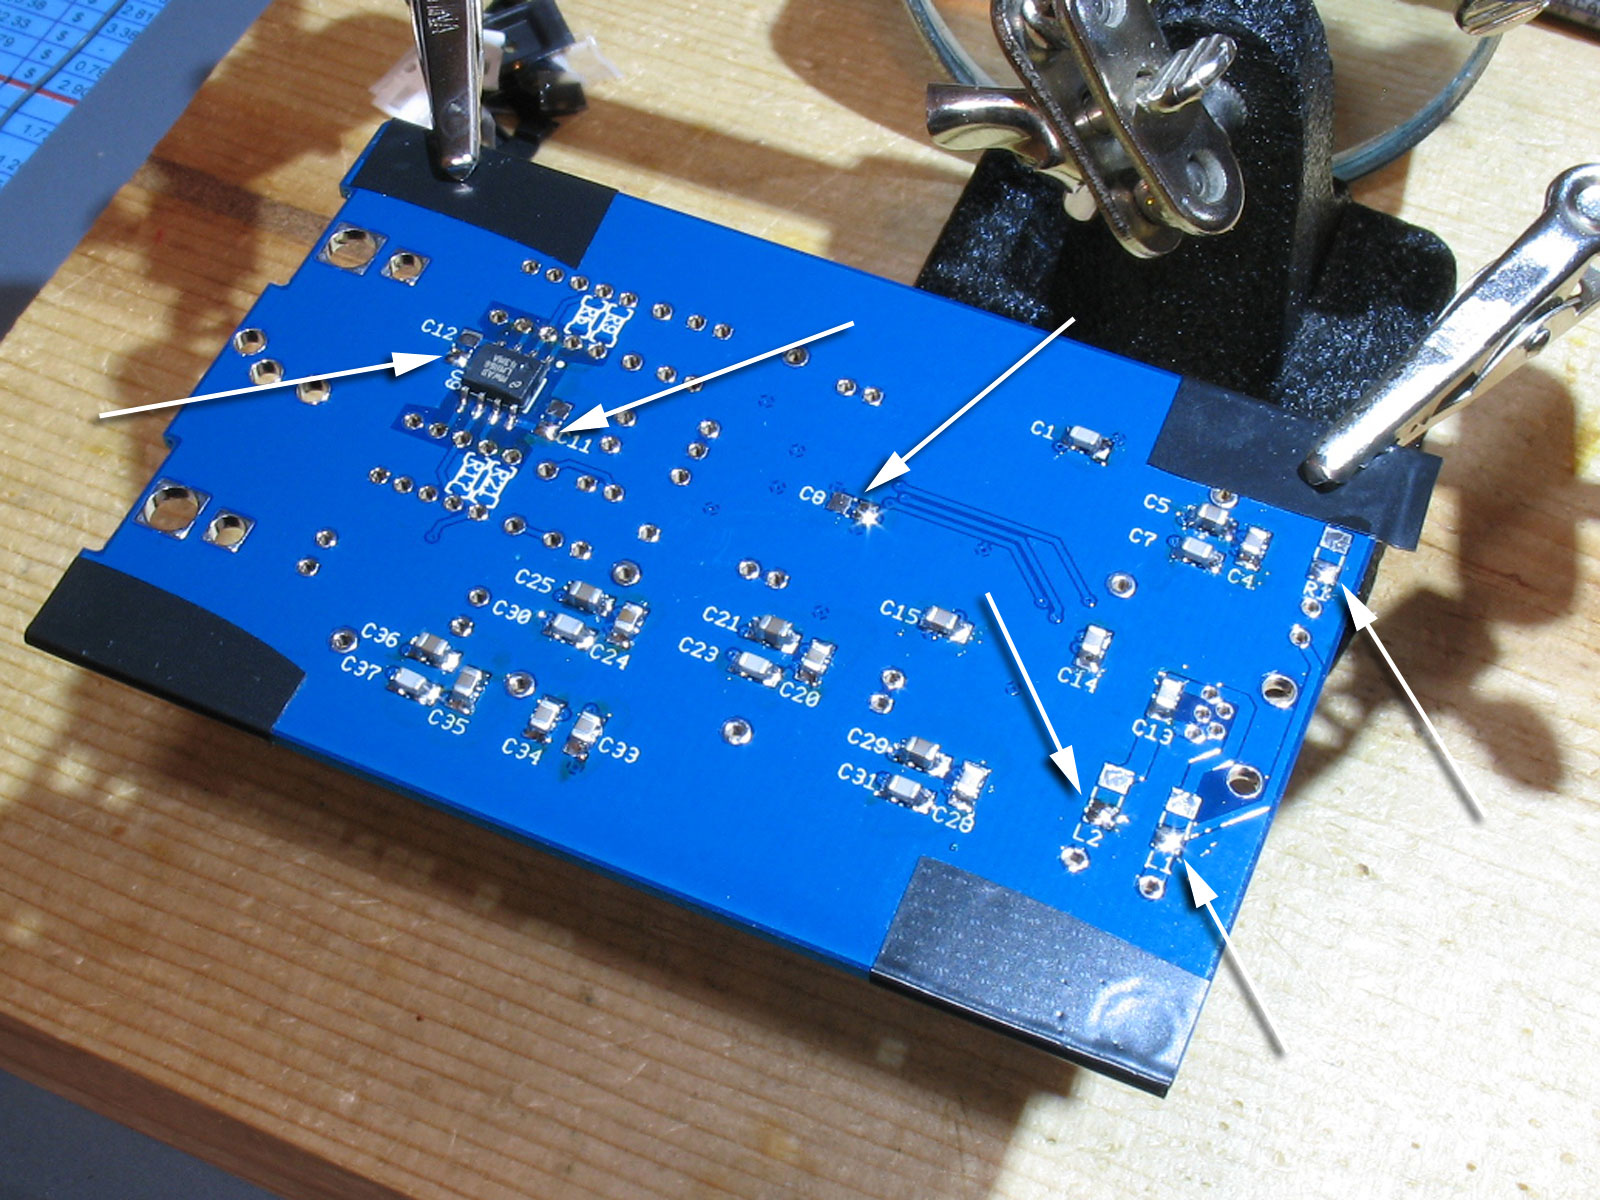
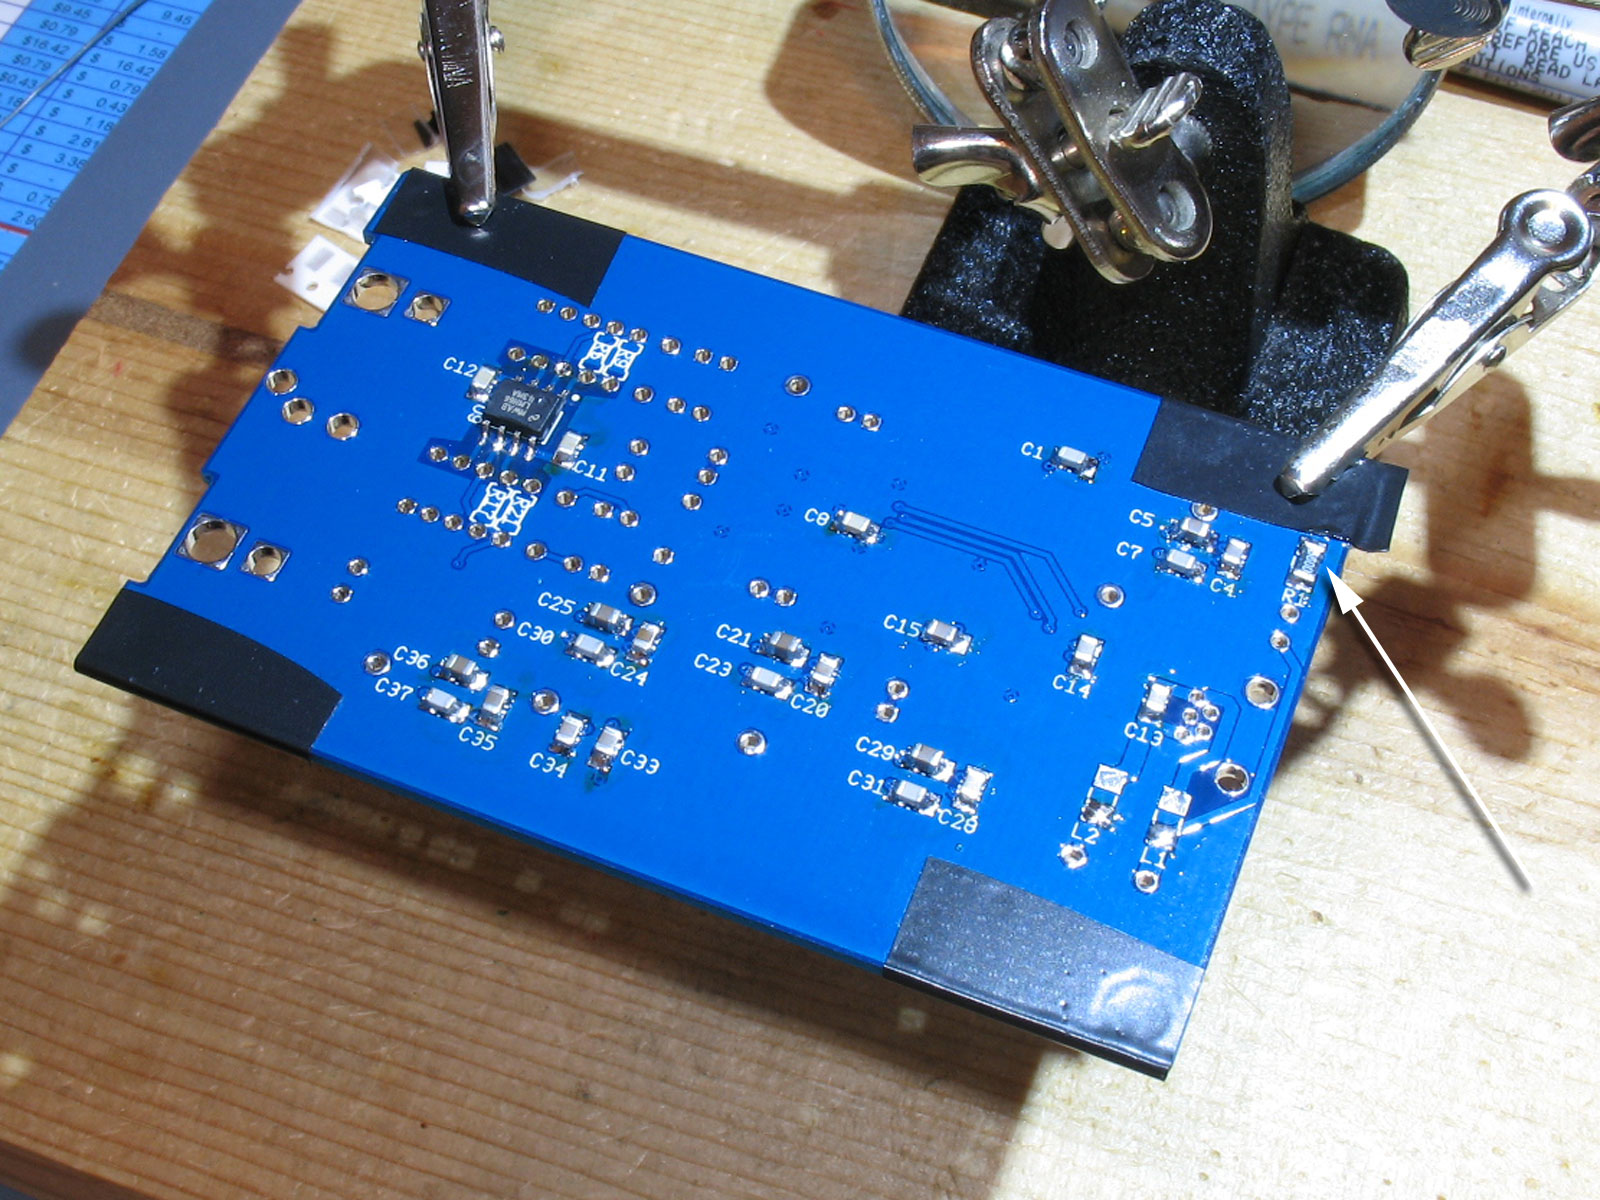
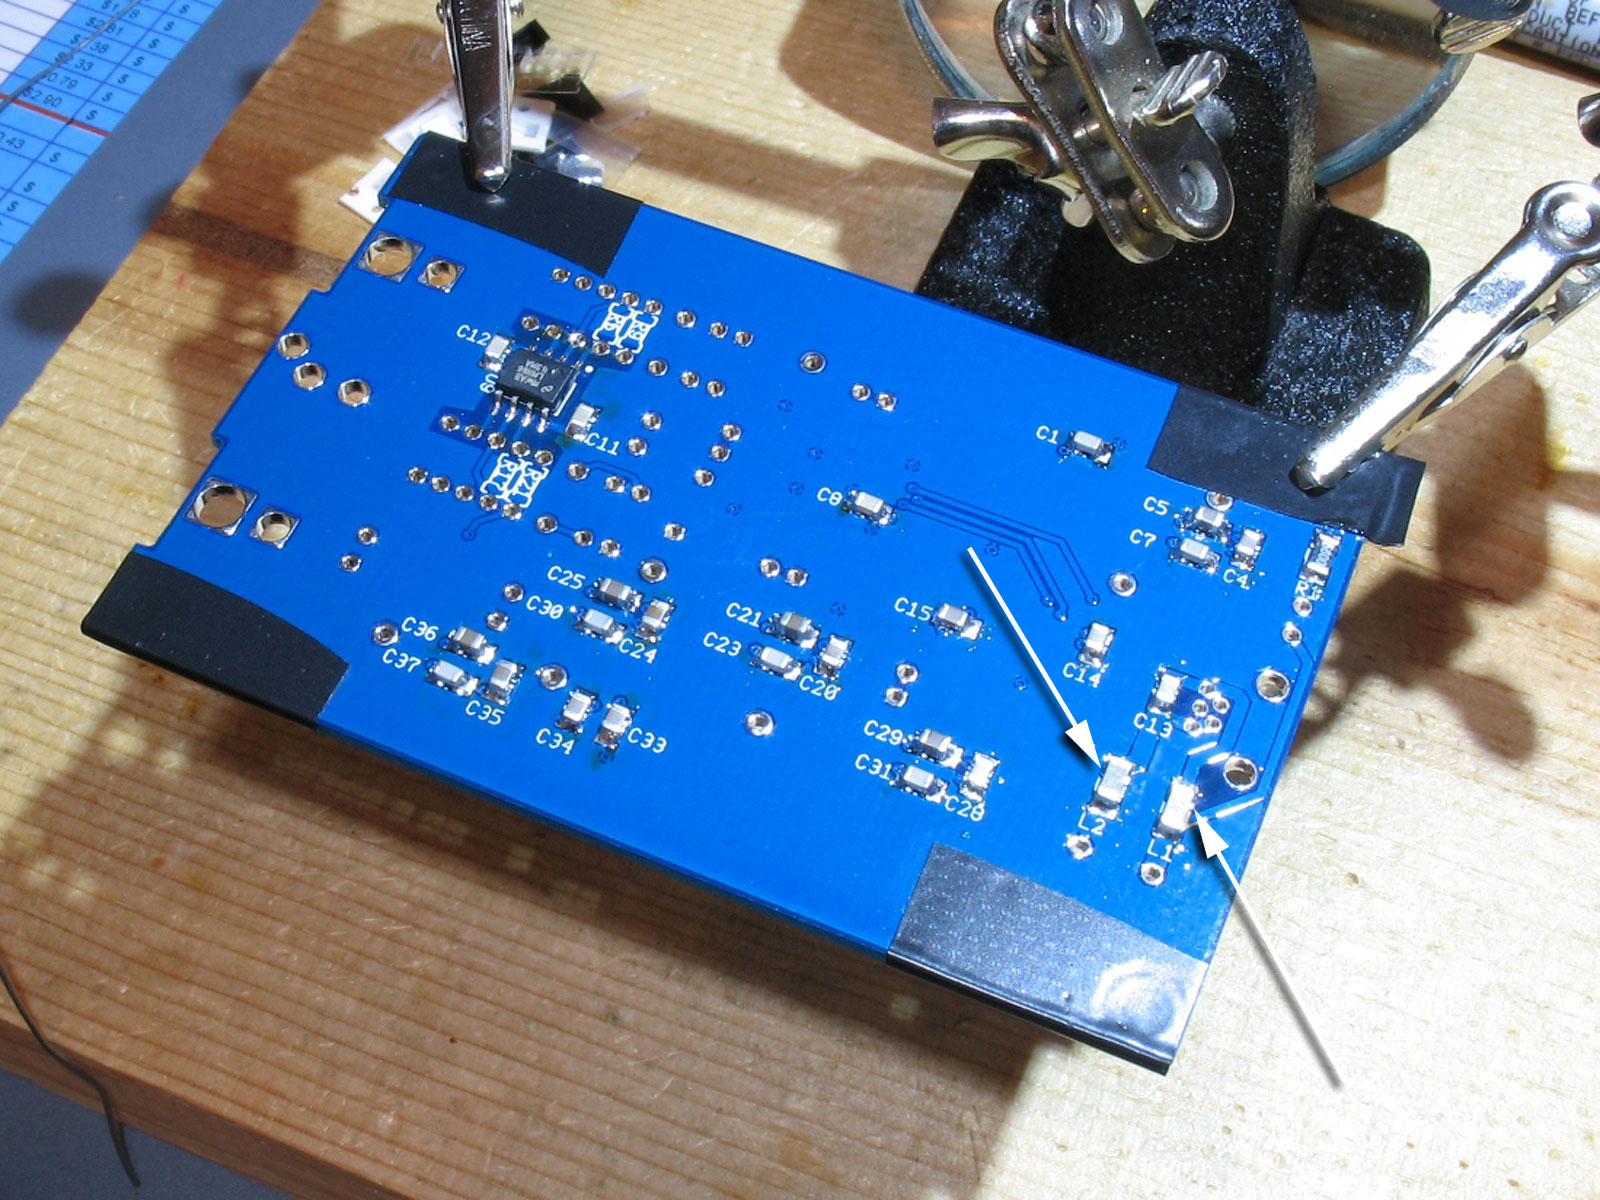
IMHO, an SOIC-8 opamp such as the ones the pupDAC use are just about the easiest SMD part to solder. There is plenty of clearance between the pins to individually solder each pin. I kind of jumped ahead at this point with my photos, but no matter. This is about 3/4 of the way through with soldering all the 805 capacitors on the reverse side of the PCB. Same old method is used - I actually prime all the pads (one each) of the rest of the parts, then start with the smallest (805 capacitors). Melt the pad you've applied solder on, and while holding the soldering iron to keep the solder melted, position the part in place with your tweezers. When you have the part properly positioned, release the soldering, let the solder cool/harden, and then release the tweezers. Go back and solder the remaining pad at your convenience. Here we see all of the capacitors finished:. Next up is the resistor: And the remaining two ferrites: Whoa!! We've finished every SMD part on the board. Take a short break at this point to inspect all of the SMD parts on the reverse side. Make certain that you haven't forgotten to solder a remaining pad somewhere. Also, take this time to fully rinse the PCB as shown in the next post. The easy through-hole stuff is next! |
file last changed:Wednesday, November 21, 2012 6:00:00 AM Please contact the pupDAC webmaster for questions about these web pages.  |