Buy Boards & Parts:
www.beezar.com
www.beezar.com

The Soundwerx Designs DoodleBug
DoodleBug Construction - Build by Photo 4
|
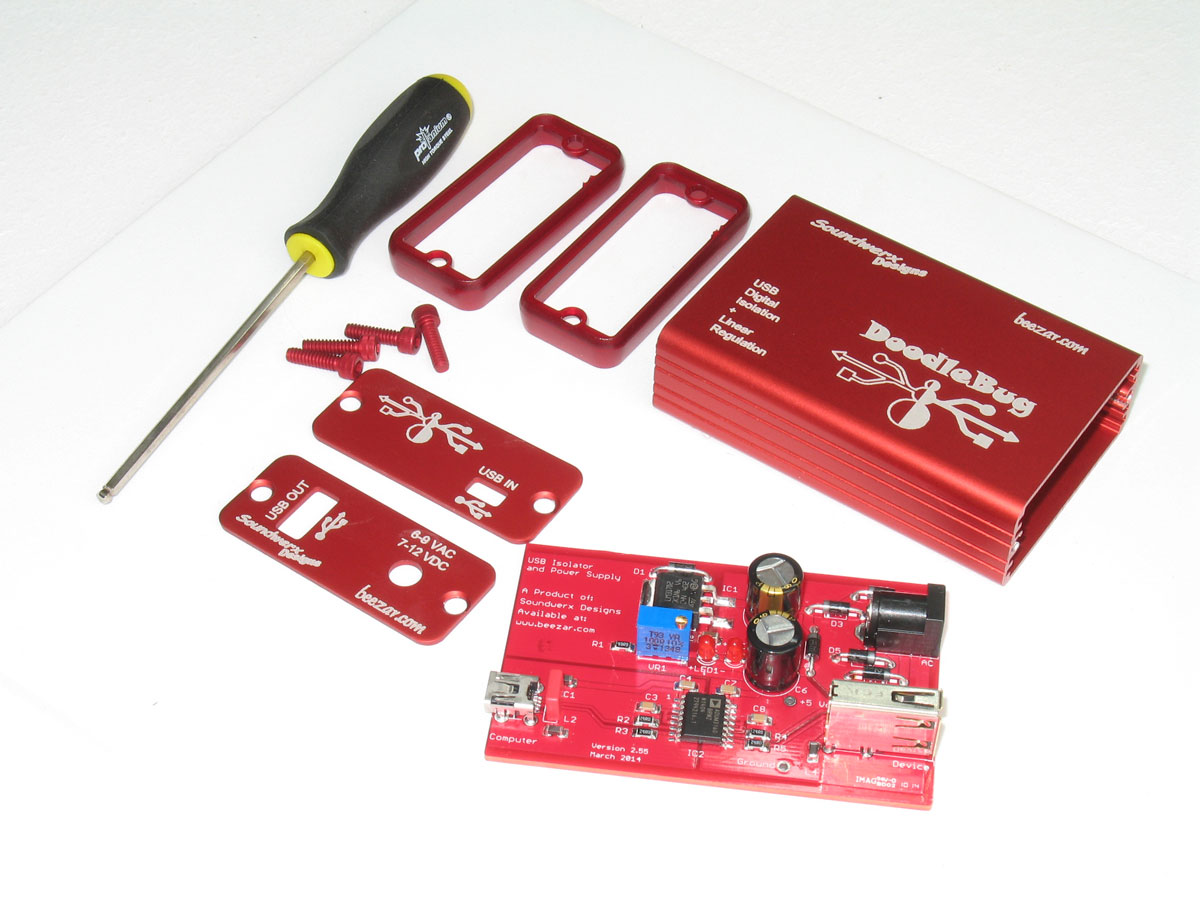
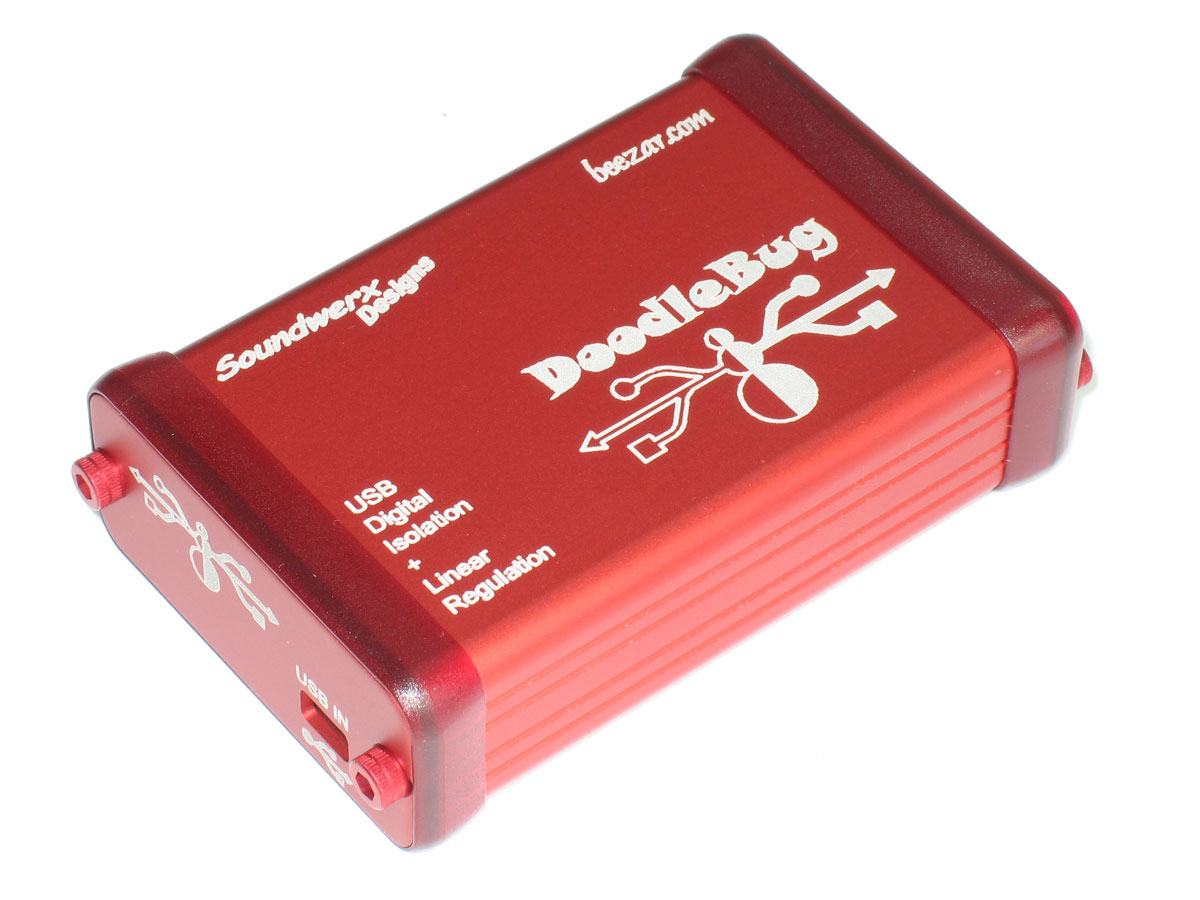
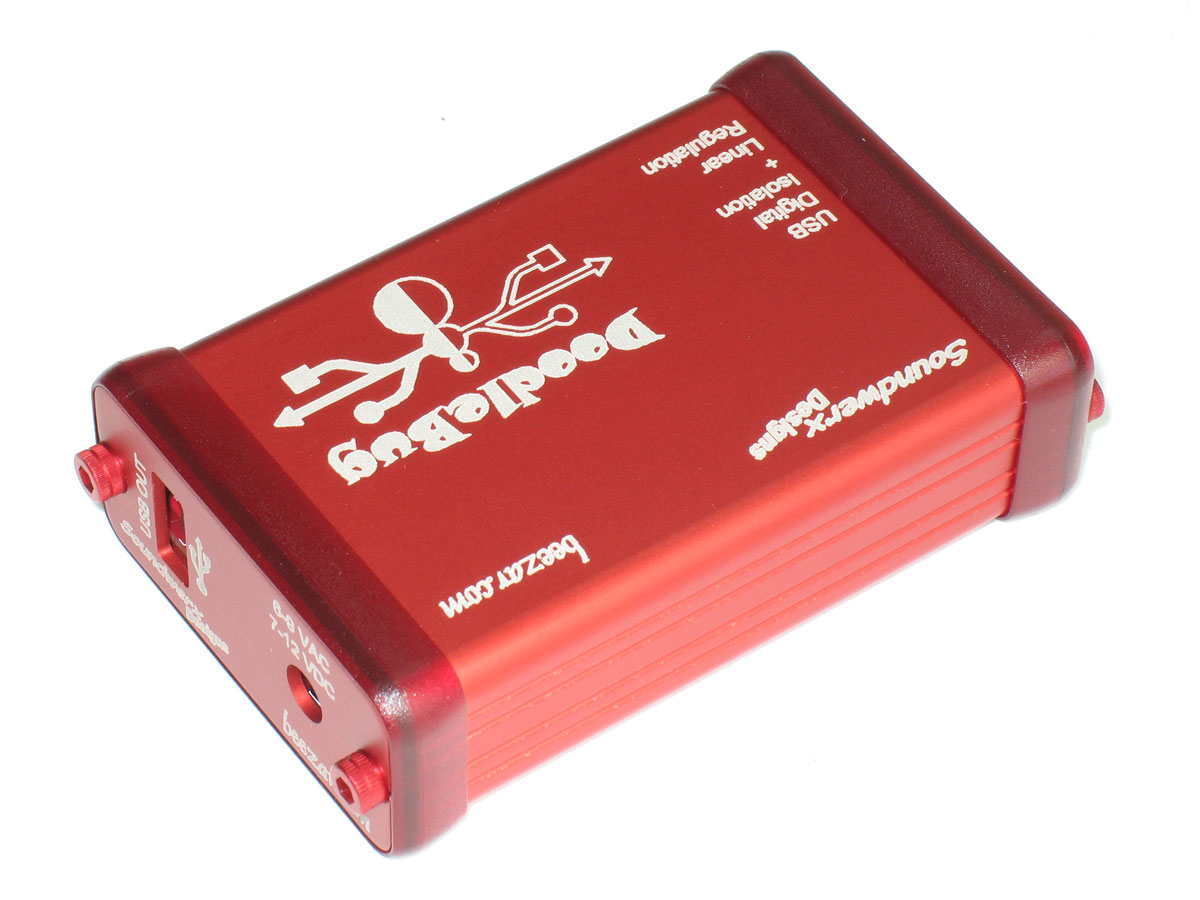
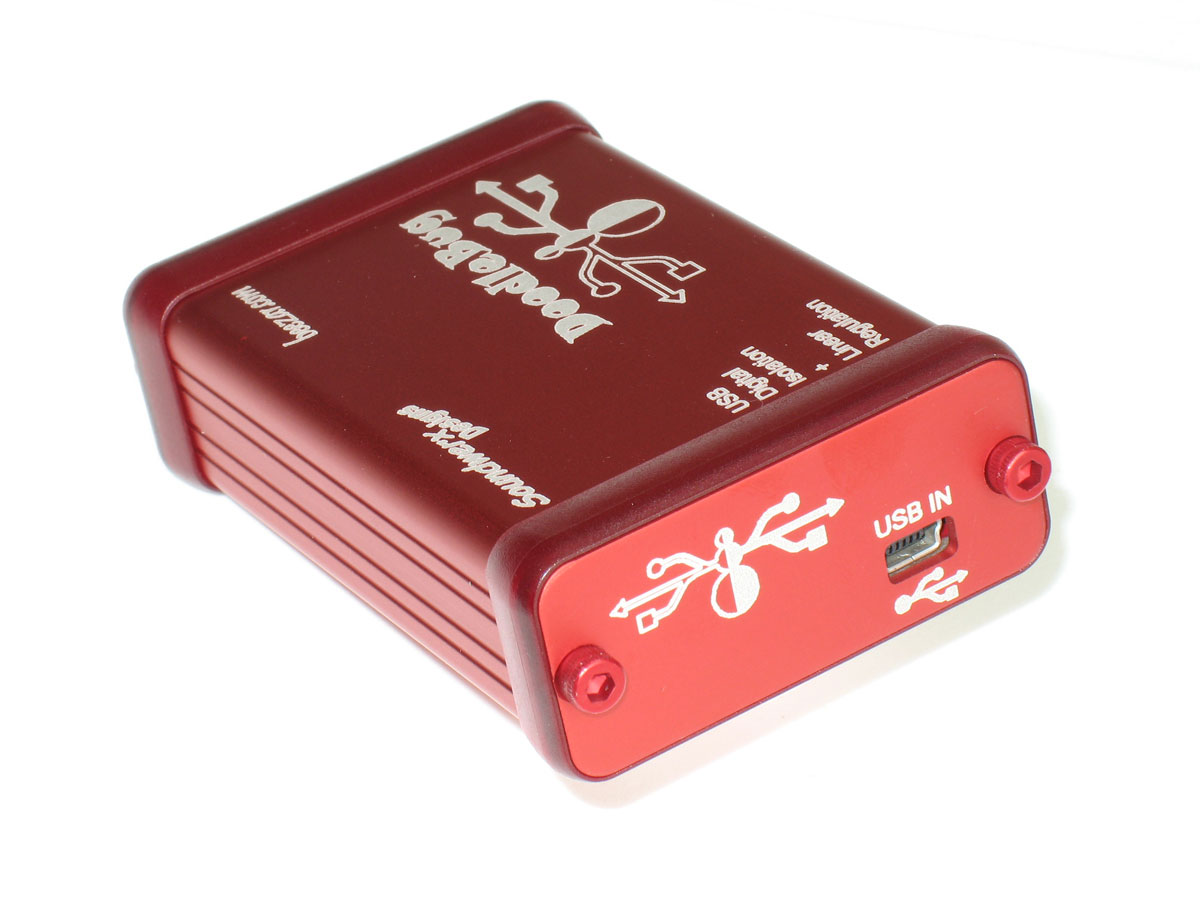
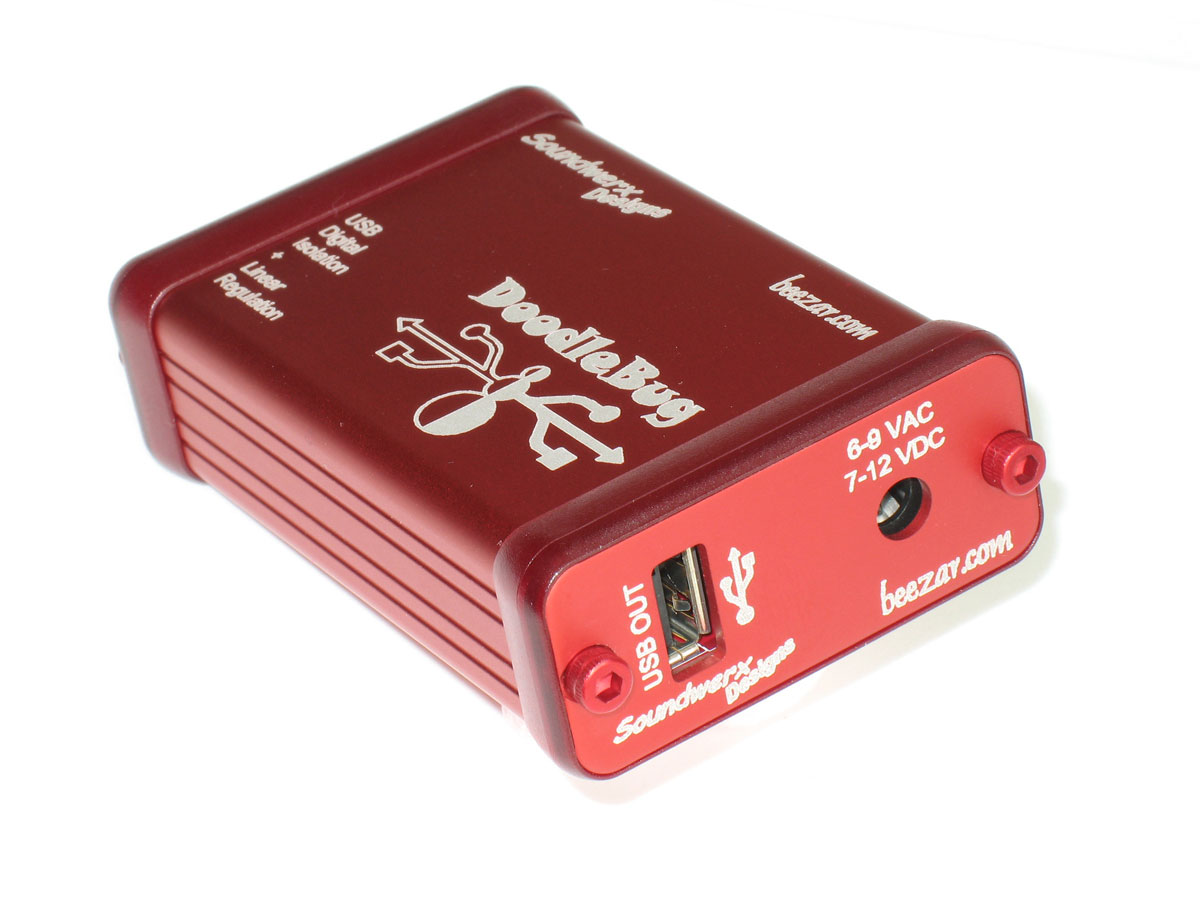
Wait! We're ready for final assemble, but make certain that you adjust the DoodleBug for final voltage, first. Visit the Setup page for details. Final assembly is a snap. Simply slide the PCB into the custom Beezar-Hammond case extrusion - bottom slot - place the bezels (mounting holes are on the outside!) and endplates into position, and screw in the socket-head case screws. Please keep in mind that 1) the tapped & threaded holes in the case extrusion are made by hand into a large-gapped channel, and 2) both the case and the red-anodized socket-head case screws are aluminum. Both can be mis-threaded and stripped quite easily. So, be careful to ensure that the screws are properly aligned before screwing in. The goal should be more or less finger-tight, no more. Here's the completed and assembled DoodleBug: A different angle: USB input end: Voltage input and USB out end: |